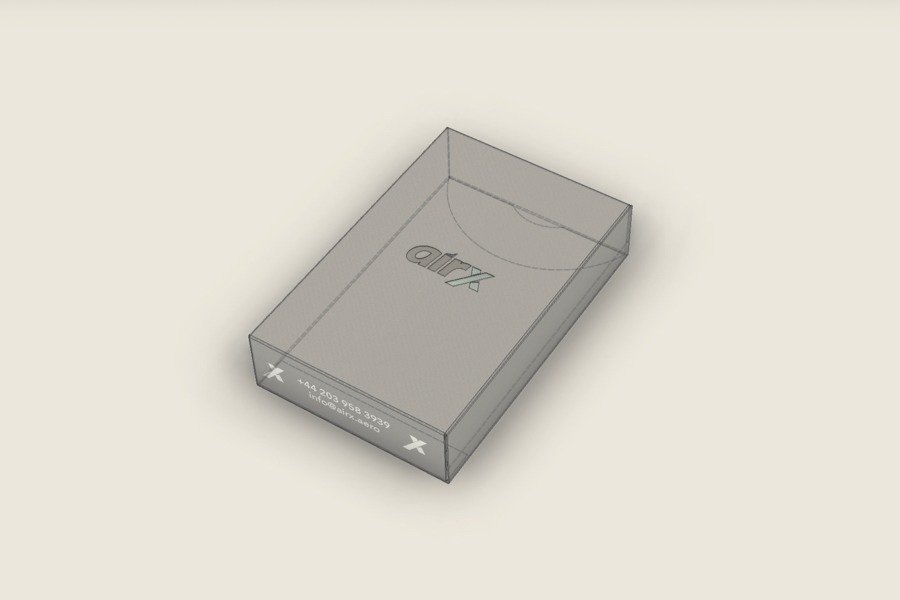
As a craft print finisher we use traditional materials and equipment, combined with hand-finishing to achieve elegant results for our clients. Yet we’re not afraid to use modern technology along the way. One tool we use in the briefing stage, is CAD to create visuals to aide our client’s decision making process.
Why Use CAD to Create Visuals?
Most design houses will use mockups in one way or another to present their designs and layouts to a client. Often this involves using generic mockups available from libraries and then applying the design or treatment to them. Often this is done using both Adobe Photoshop and Illustrator, or increasingly Affinity’s Photo and Designer software.
Illustrator or Affinity Designer are the best tools for the job of creating logos or creating refined typography. Likewise Photoshop or Affinity Photo are ideal for creating photo-realistic mockups of the design.
These tools alone are great for presenting ideas that are going to be produced using standard A size formats with four-colour print process.
Because pressure based printing allows a gamut of textured and coloured papers to be used, CAD allows the nature of these materials to communicated to the client far easier. In short using CAD to create visuals, is ideal for realistically exhibiting the properties of non standard print materials and art papers.
The Many and Varied World of Art Papers
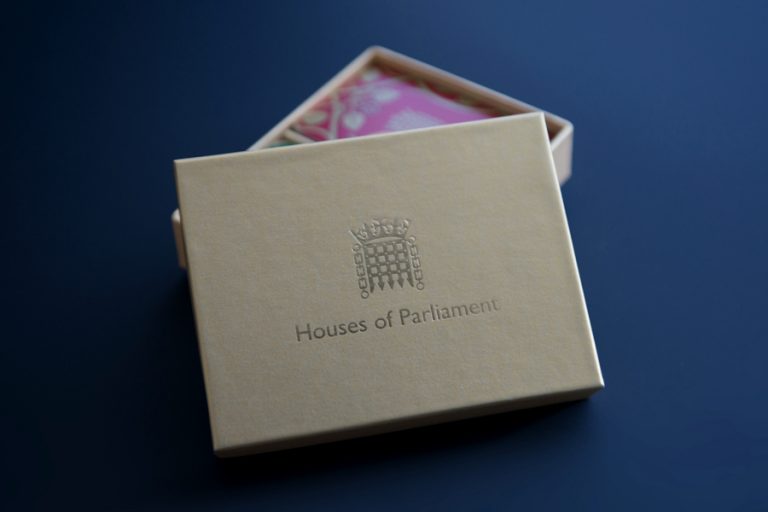
When creating work for clients, there are three paper merchants we tend to specify paper from, whose ranges include a myriad of papers with different colours, textures and weights. As these papers are so varied and have stunning, eye-catching properties, simply specfiying a paper and providing a flat sample, can not do some of these papers justice.
Using 3D modelling and rendering allows the client not only to see their design on a custom box, business card or compslip, but to get a feel for how each piece will actually look and feel.
This is achieved by applying actual paper samples and texture maps to a 3D object. CAD or 3D modelling also allows us show the finer detials of pressure based printing, by embossing or debossing the surface of the 3D object.

Using 3D modelling is a huge benefit to us and the client. For us it allows us to see if a particular combination of materials and papers will work together visually. It is a cost effective way for us to create rapid prototyping and get the conversation started with clients who simply don’t realise what’s available.
For the client 3D modelling and CAD gives an accurate representation of their project, before any firm budgetry commitments have been made. This allows re-briefing or for different paper and foil combinations to be previewed, before production and spending commitments are made.
With the quality and integrity of modern 3D rendering, being able to be achieved on the modest desktop or laptop computers, photorealisitic mockups can be realitively quickly created.