We decided to create a Designer’s Guide to Hotfoiling, as many designers find hotfoiling and impression based printing can be a mystery. Certainly if you are used to designing for offset litho or digital print.
Make and Impression
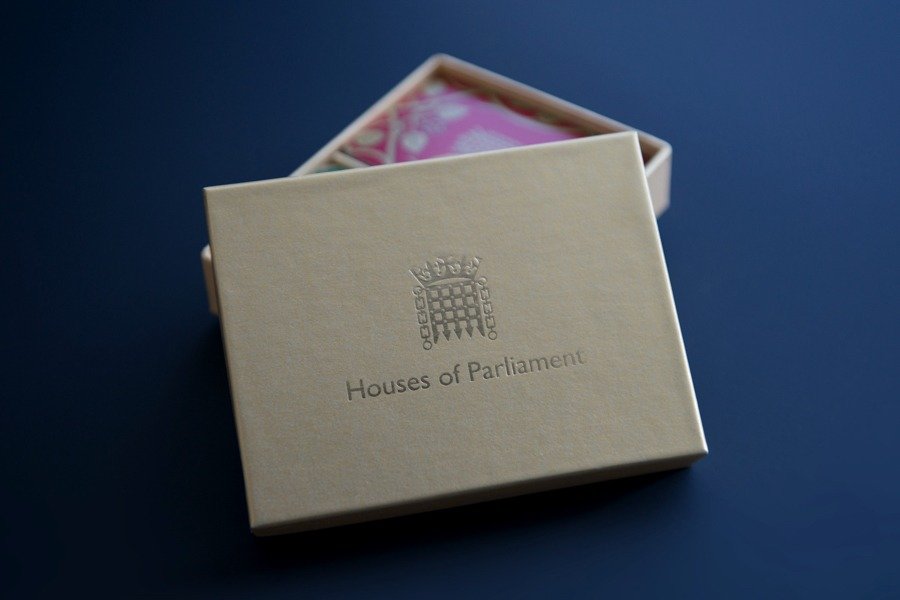
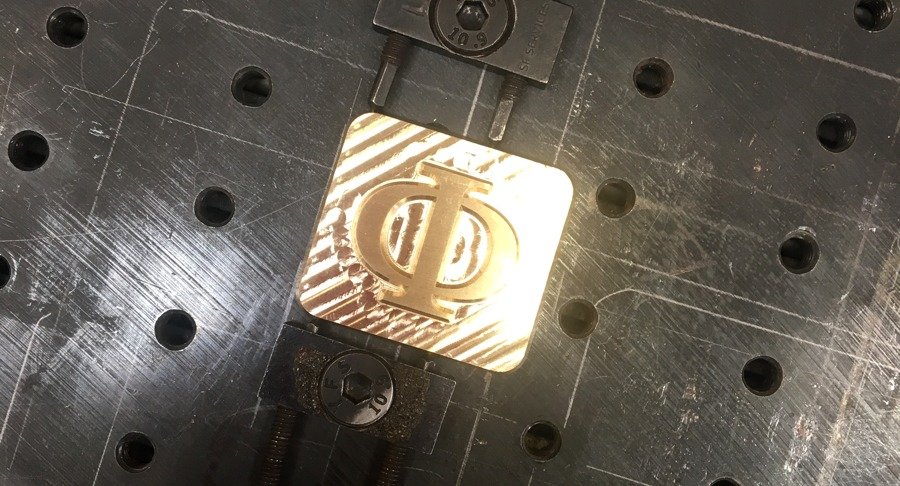
Firstly what applies for hotfoiling also applies for embossing and debossing. All of these forms of impression based printing use a brass die. The die is made as a mirror image of your artwork and the paper or card is then pressed against it with a certain amount of pressure.
When hotfoiling the die is heated to around 100ºC and a band of foil is passed between the die and the paper. The foil is then pressed onto and slightly into the paper. Consequently the foiled area is either slightly depressed – debossed – into the surface or raised up – embossed – from the surface. As a result a 3D textural finish is achieved.
Hotfoiling – An Imprecise Art
The first thing to note when choosing hotfoiling, embossing and debossing, is that it cannot be millimetre perfect. The brass die is mounted manually onto a heavy metal heating matrix using bolts and shims.
In order to position any piece of design work for foiling the cut paper size is positioned against the lays. Lays are essentially guide rails that hold the paper on two sides – bottom and side. The die is this then roughly positioned in relation to the paper in lays.
For flat pieces of work, like hot foiled or embossed business cards, letterheads or complimentary slips the final position of the impressed area is realatively easy to calculate. For folded work such as boxes, there is a little more work to get the die in the rough final position.
Once the die is roughly in position it is clamped into place and finer adjustments can be made to hone the position. However, due the manual nature of this set up, the position can never be guaranteed to be “to the millimetre” – although here at Card Couture we aim to be!
Guidelines for Hotfoiled Artwork
Generally hotfoiling works best with bold, simple designs. The look of foiling isn’t just the colour of the foil itself, but the way it is artfully combined with creative papers to achieve maximum impact.
Although bold artwork is best, finer details can be hotfoiled, although there is a limit to what’s possible. The list below are some pointers on what to avoid:
- Avoid specifying very fine line weights
- Avoid very small type – 9 to 10pt minimum for a face like Times New Roman
- Avoid light and superlight typefaces
Get Creative
When people think of foil they instantly assume a metallic finish. However foils are available in vast array of colours and finishes. Colours can either have a metallic finish or non-metallic. The foils themselves can holograms embedded in them or be simply a clear film that adds a glossy finish to the impressed area.
Foils don’t necessarily have to be used. With thicker paper stock, blind embossing – simply leaving an impression in paper – can give an incredibly subtle finish. There are even technical papers available that go from paper white to clear when they’re debossed and heated (see below).

Did You Like Our Designer’s Guide to Hotfoiling?
If you found our Designer’s Guide to Hotfoiling useful, or if there’s a topic you’d like us to cover – leave us a comment below!


